Design Town
Turning my IKEA desk into a motorized standing desk

For the past two years, my wife and I have been working out of a shared studio space that we started, called Design Town. The entire time we’ve lived in New York—almost 10 years now (!)—we’ve belonged to a small, tight-knit community, like Studiomates and Small City. After being desk renters for so long, we finally reached the point where we wanted to start our own space and design it from scratch—and we did! Despite being two years into our lease already, I’m stunned that I haven’t written about Design Town yet—especially because we’ve tackled so many DIY projects since opening. That changes today. I’ve decided to finally take the time to write about this most recent project, and hopefully start a new thread for future projects at the studio.
Researching standing desks

Last month, I tweeted about standing desks, and asked which was the best one out there. Up until this point, my only experience with motorized standing desks was at the offices of well-funded startups, so I always considered them to be wildly expensive. Apparently, times have changed, as I received dozens of recommendations for (shockingly) affordable desks. Instead of the thousands of dollars I thought I might need to shell out, every suggested option was in the $400-$500 range. I’m not sure if this has been the case for a while, or if the remote life of the pandemic caused a drop in prices, but I’m all for it.

After doing some research and tallying recommendations, I landed on the Jarvis desk by Fully. At Design Town, we took the budget approach by building all of the desks from IKEA countertops and IKEA desk legs. If you ignore the slight dip towards the center (even with a middle leg in the back), they actually work quite well for a cheap 2-person desk. Fully has a handful of complete desk options, but to truly keep a consistency across all the desks at Design Town, I decided to reuse my existing desk top and order only the standing desk frame. Since Jen and I share one of the 98“ desks at the space, I’d need to cut it in half, but that’s fine—the counter top is cheap, and if/when I mess up, I can either live with it or try again without breaking the bank.
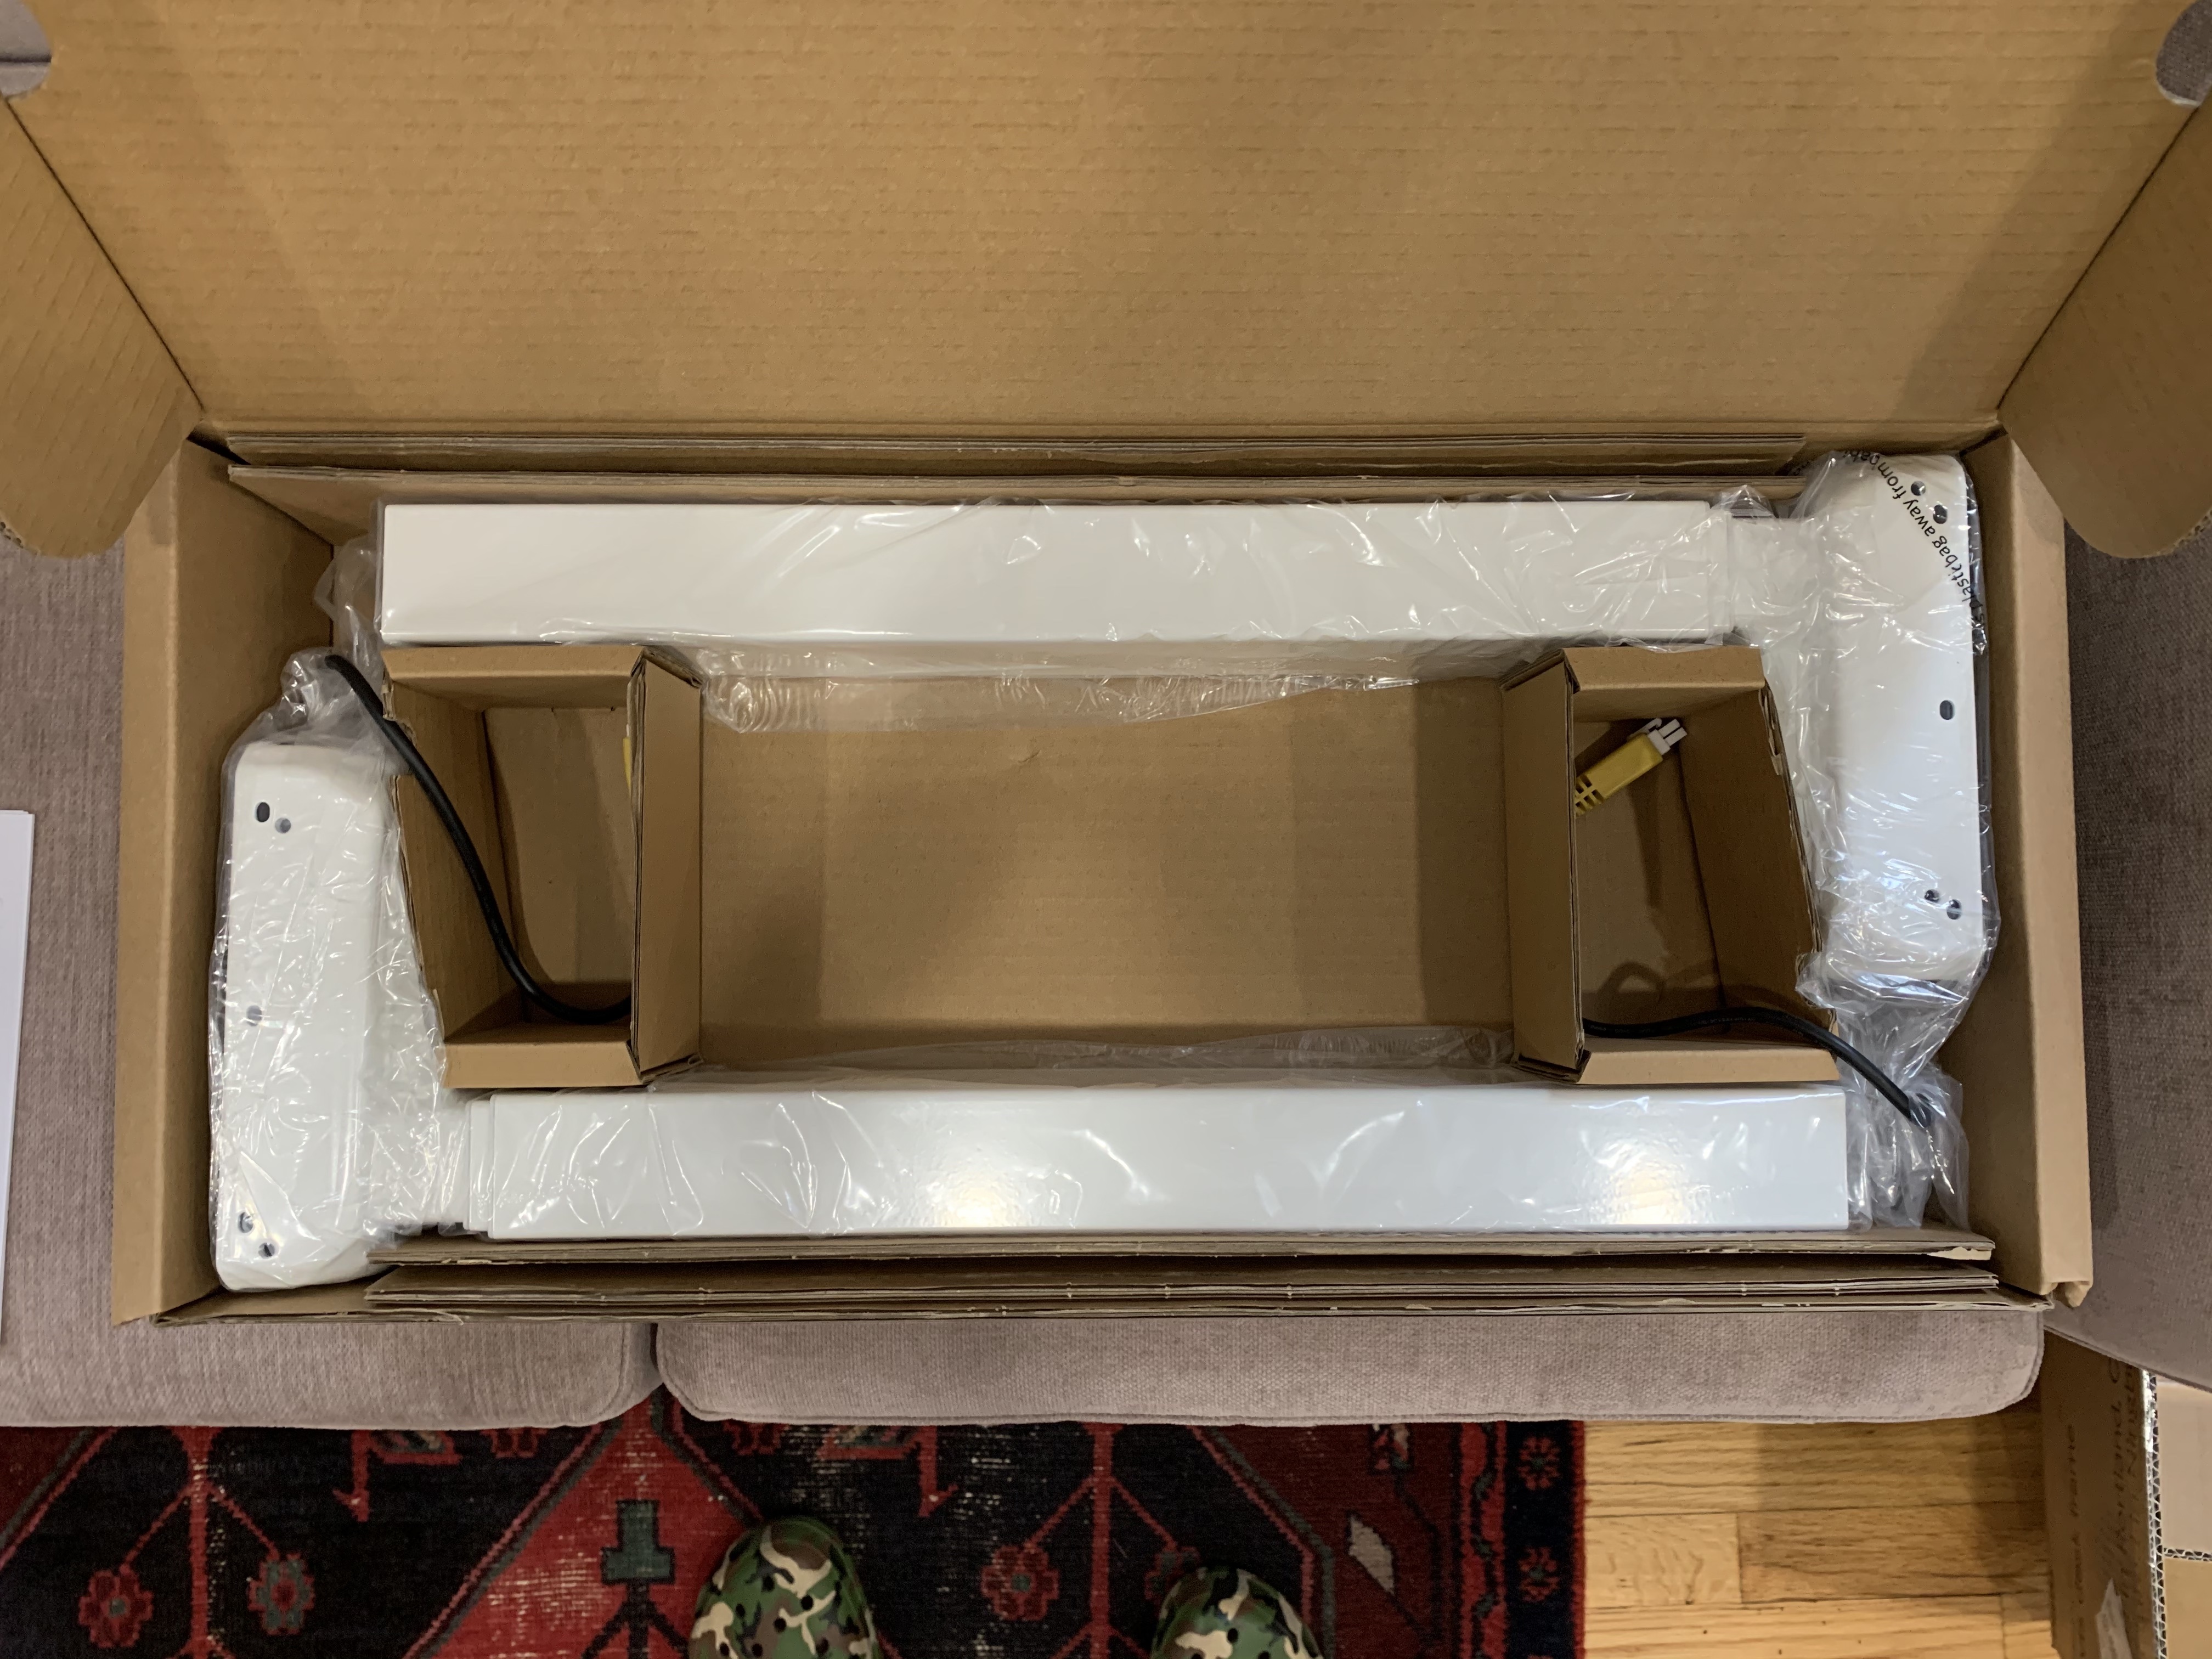
The frame arrived only a couple days after ordering, so I ended up stashing it away until my circular saw arrived as well. I do have a handful of basic tools, but I’m constantly building my collection as I go. Up until this point, a drill and a driver has gotten me pretty far, but now I’ve entered new territory—cutting a distance longer than a foot. This means upgrading to a circular saw—specifically, the DeWalt Flexvolt Advantage 20v Max. After holding the saw, and rev’ing it a few times, I immediately understood why people end up with all the tools. (I don’t often experience this feeling while sitting behind a keyboard.)
I like to joke that if I ever started a handyman business, I’d call it “Slow & Steady” because I take my time, measure multiple times, and somehow turn 2-hour projects into 8 hours. After this project, Jen made me rename my fake business to “Very Slow & Steady” because I was especially slow this time around. Even when I take my time, I make plenty of mistakes, so I can’t imagine how error prone I’d be if I tried to go any faster.
Making the cut
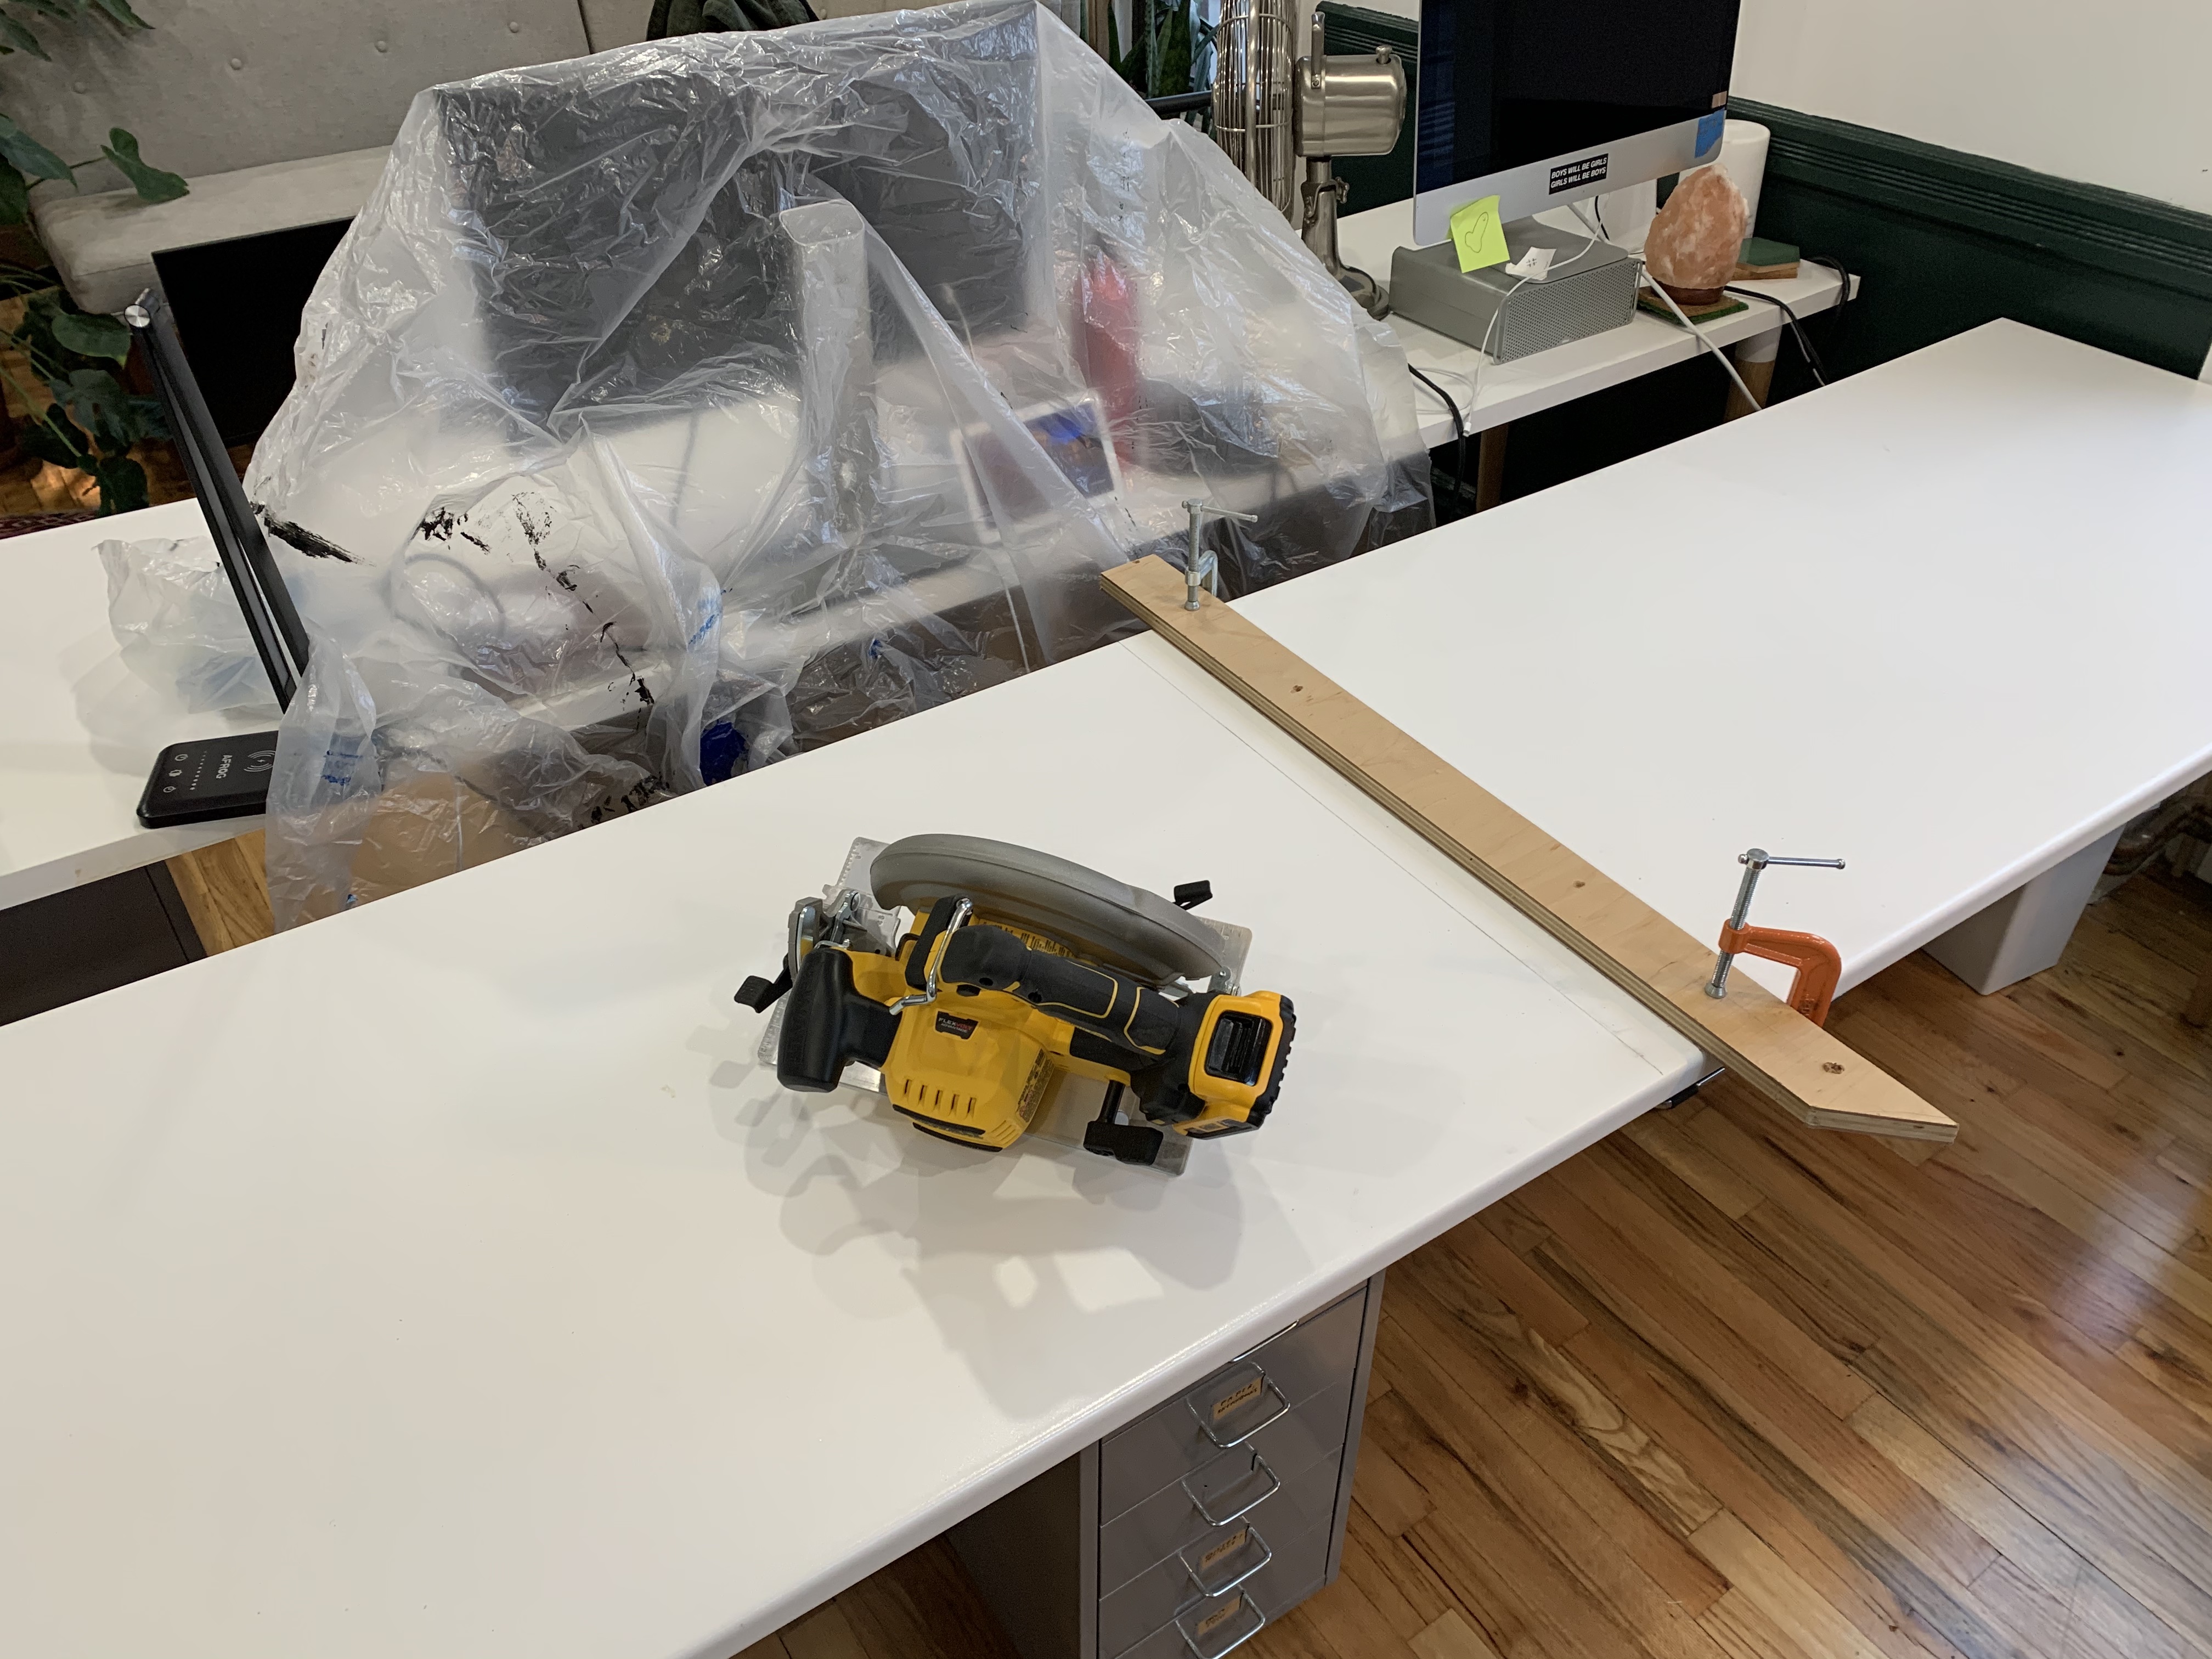
I started by measuring where to cut and drawing a straight line to mark the cut. I then clamped a scrap piece of wood to run parallel to this line, so I could simply slide my circ saw along this line (so I thought).
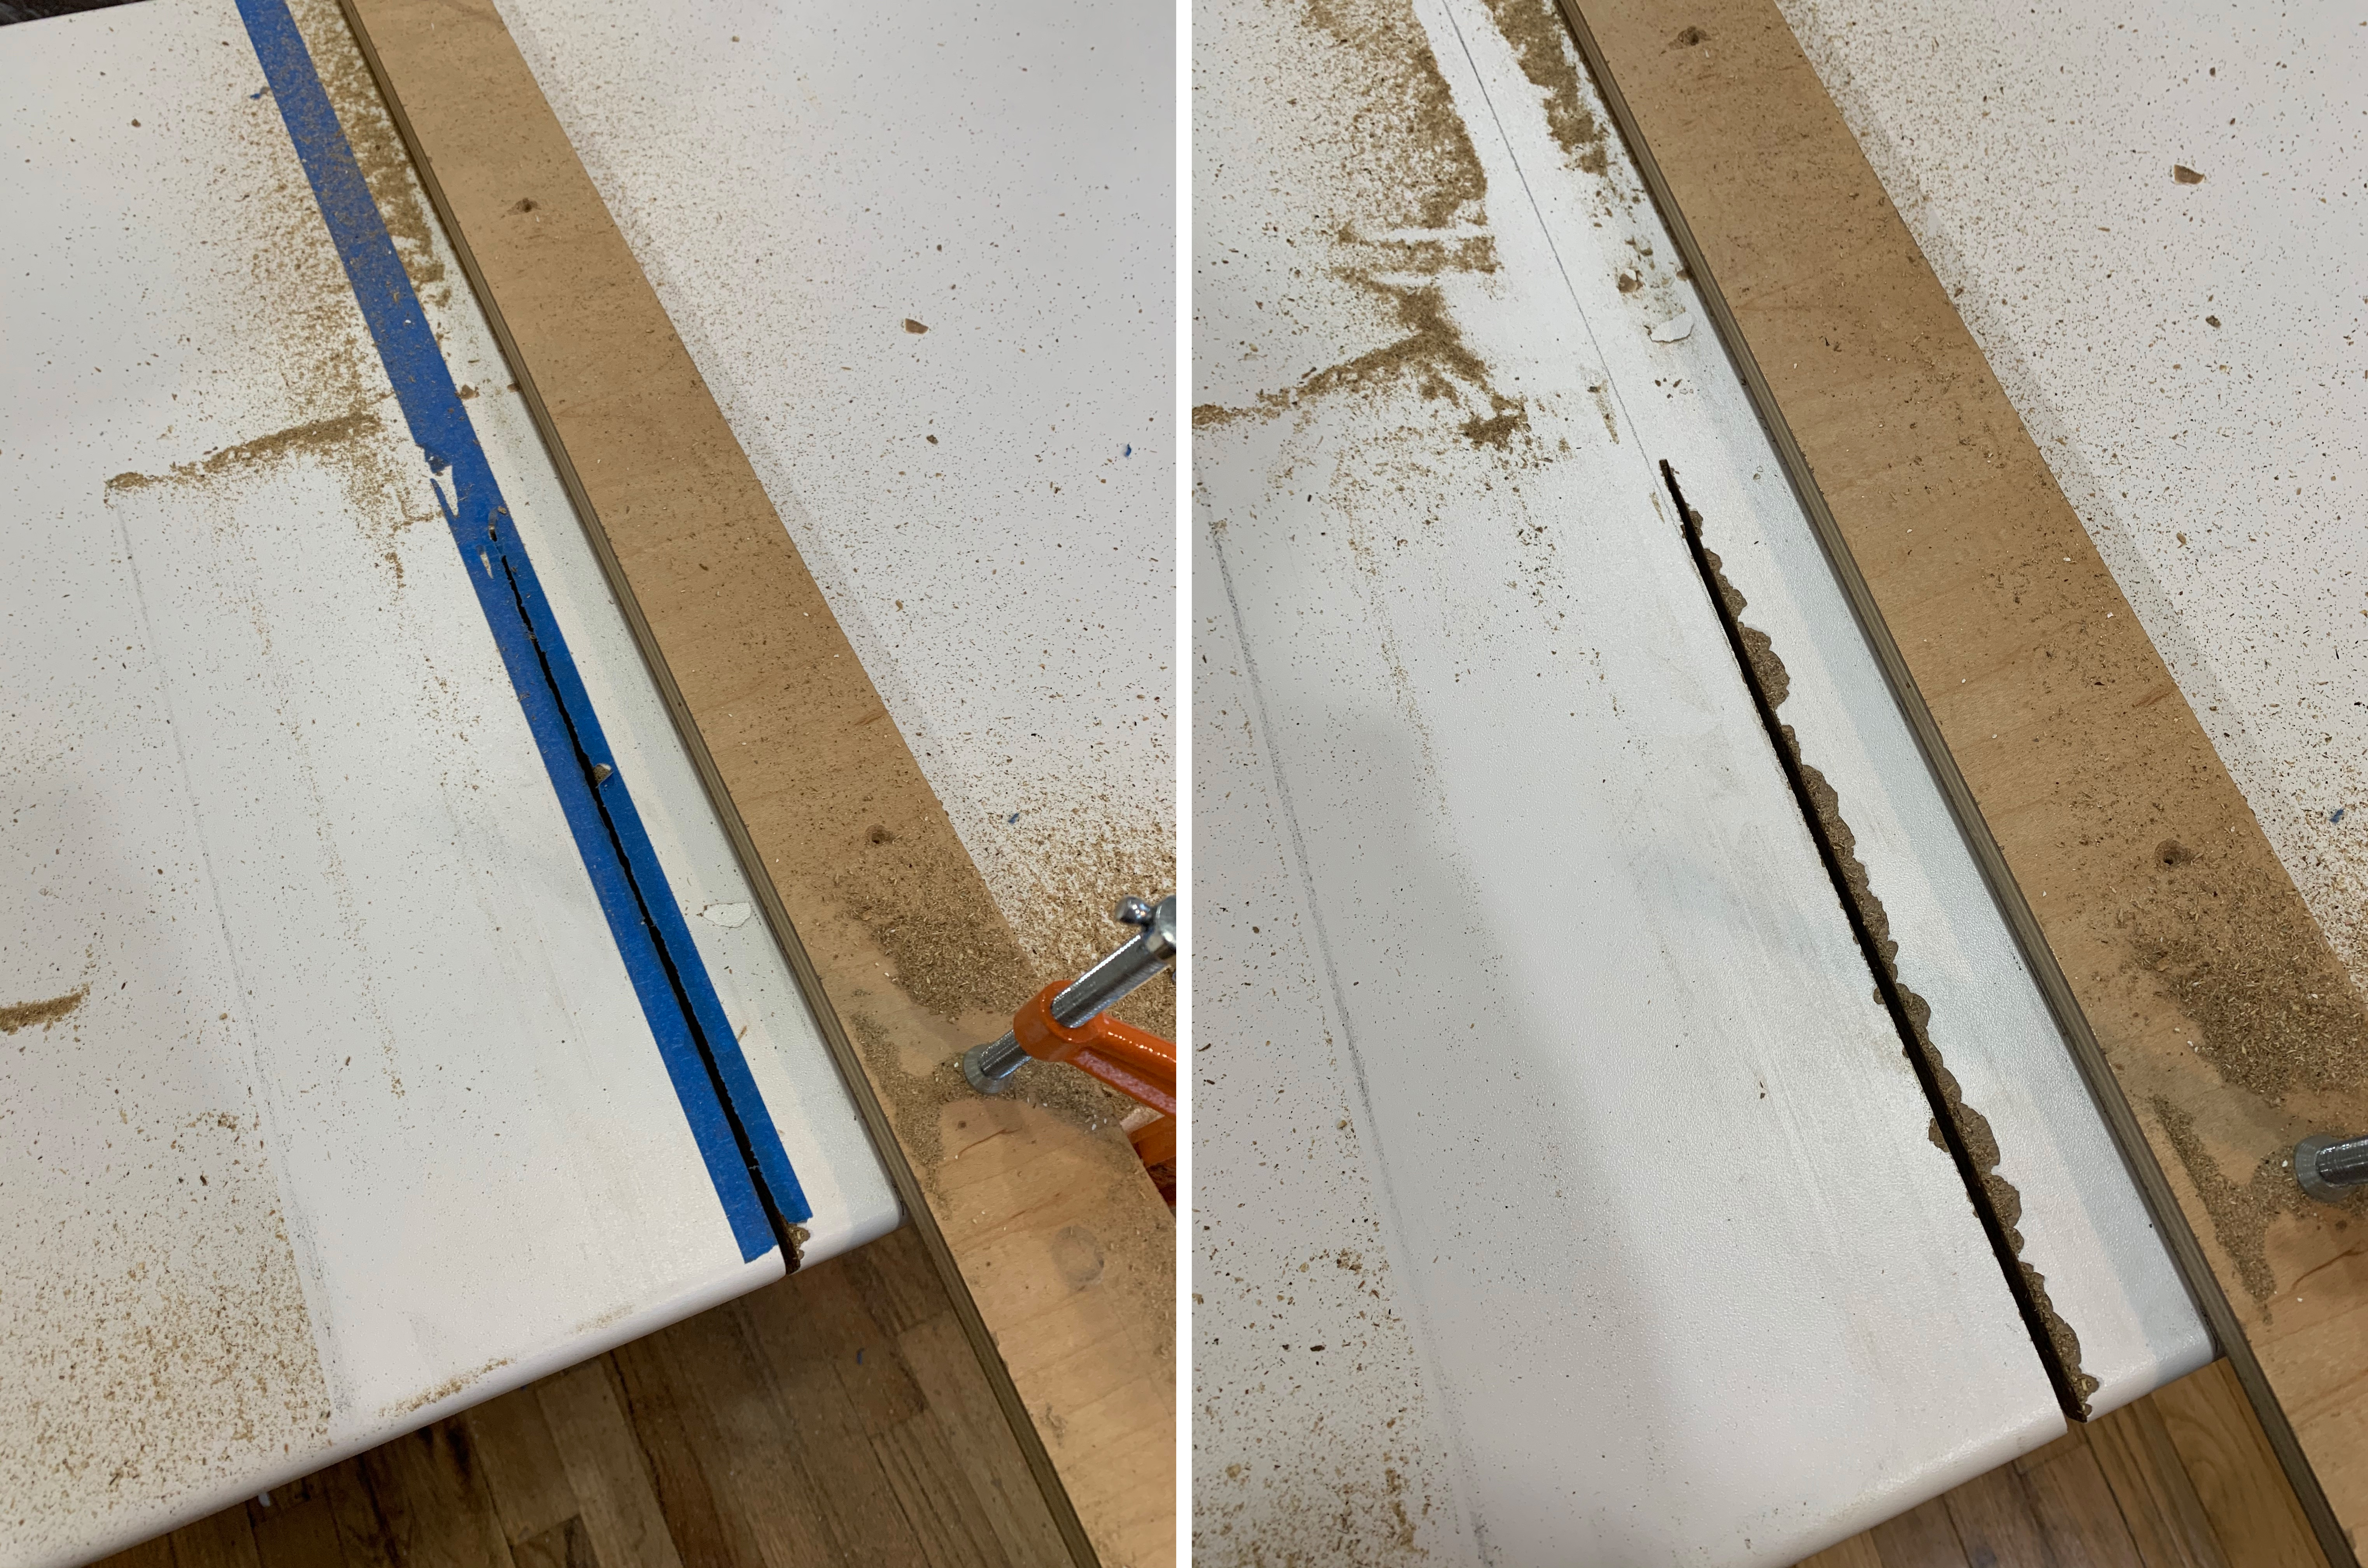
The first few inches of the cut were smooth, but as soon as I reached a foot deep, the circ saw started to slow and eventually stopped! I had no idea why, but I knew this wasn’t good. I nervously reversed the circ saw and assessed the damaged. The veneer chipped a ton (so much for the masking tape trick) and the saw somehow steered slightly right despite the wood strip to keep me on track.
While I definitely should’ve done some research before attempting the cut, I searched YouTube for videos about cutting an IKEA countertop. Every video I watched said to cut with the bottom facing up to avoid chipping. Well, I didn’t do that, so better luck next year. The videos also emphasized using a blade with the highest tooth count you can find, but I only had the 24-tooth stock blade that came with the saw. Thinking this was the issue, I ran to Lowes (literally, we don’t have a car) and picked up a finer-toothed blade. When I got back, I made another attempt at the cut, but the saw still stopped at the exact same spot.
Scratching my head, I returned to YouTube. After more digging, I found a few videos comparing the performance of different batteries using the circ saw I have. Apparently—to me, but probably obvious to anyone who owns a cordless circ saw—the battery matters. The one that came with my driver and drill (only 2.0Ah) works perfectly fine for a driver or drill, but a circ saw is a different beast—a beast that requires at least a 6.0Ah battery. These batteries can run for over $100, which explains why the tools themselves seem so affordable. Now I feel like a sucker for falling into their trap.
Considering how much I butchered the cut already, I decided to cut the rest using my corded jigsaw. The cut wasn’t perfectly straight, but it was much cleaner than the circ saw’s cut, which looked like I wiggled my arms with my eyes closed. Despite the suboptimal cut, I was able to move onto actually assembling the motorized standing desk.
Mounting the frame
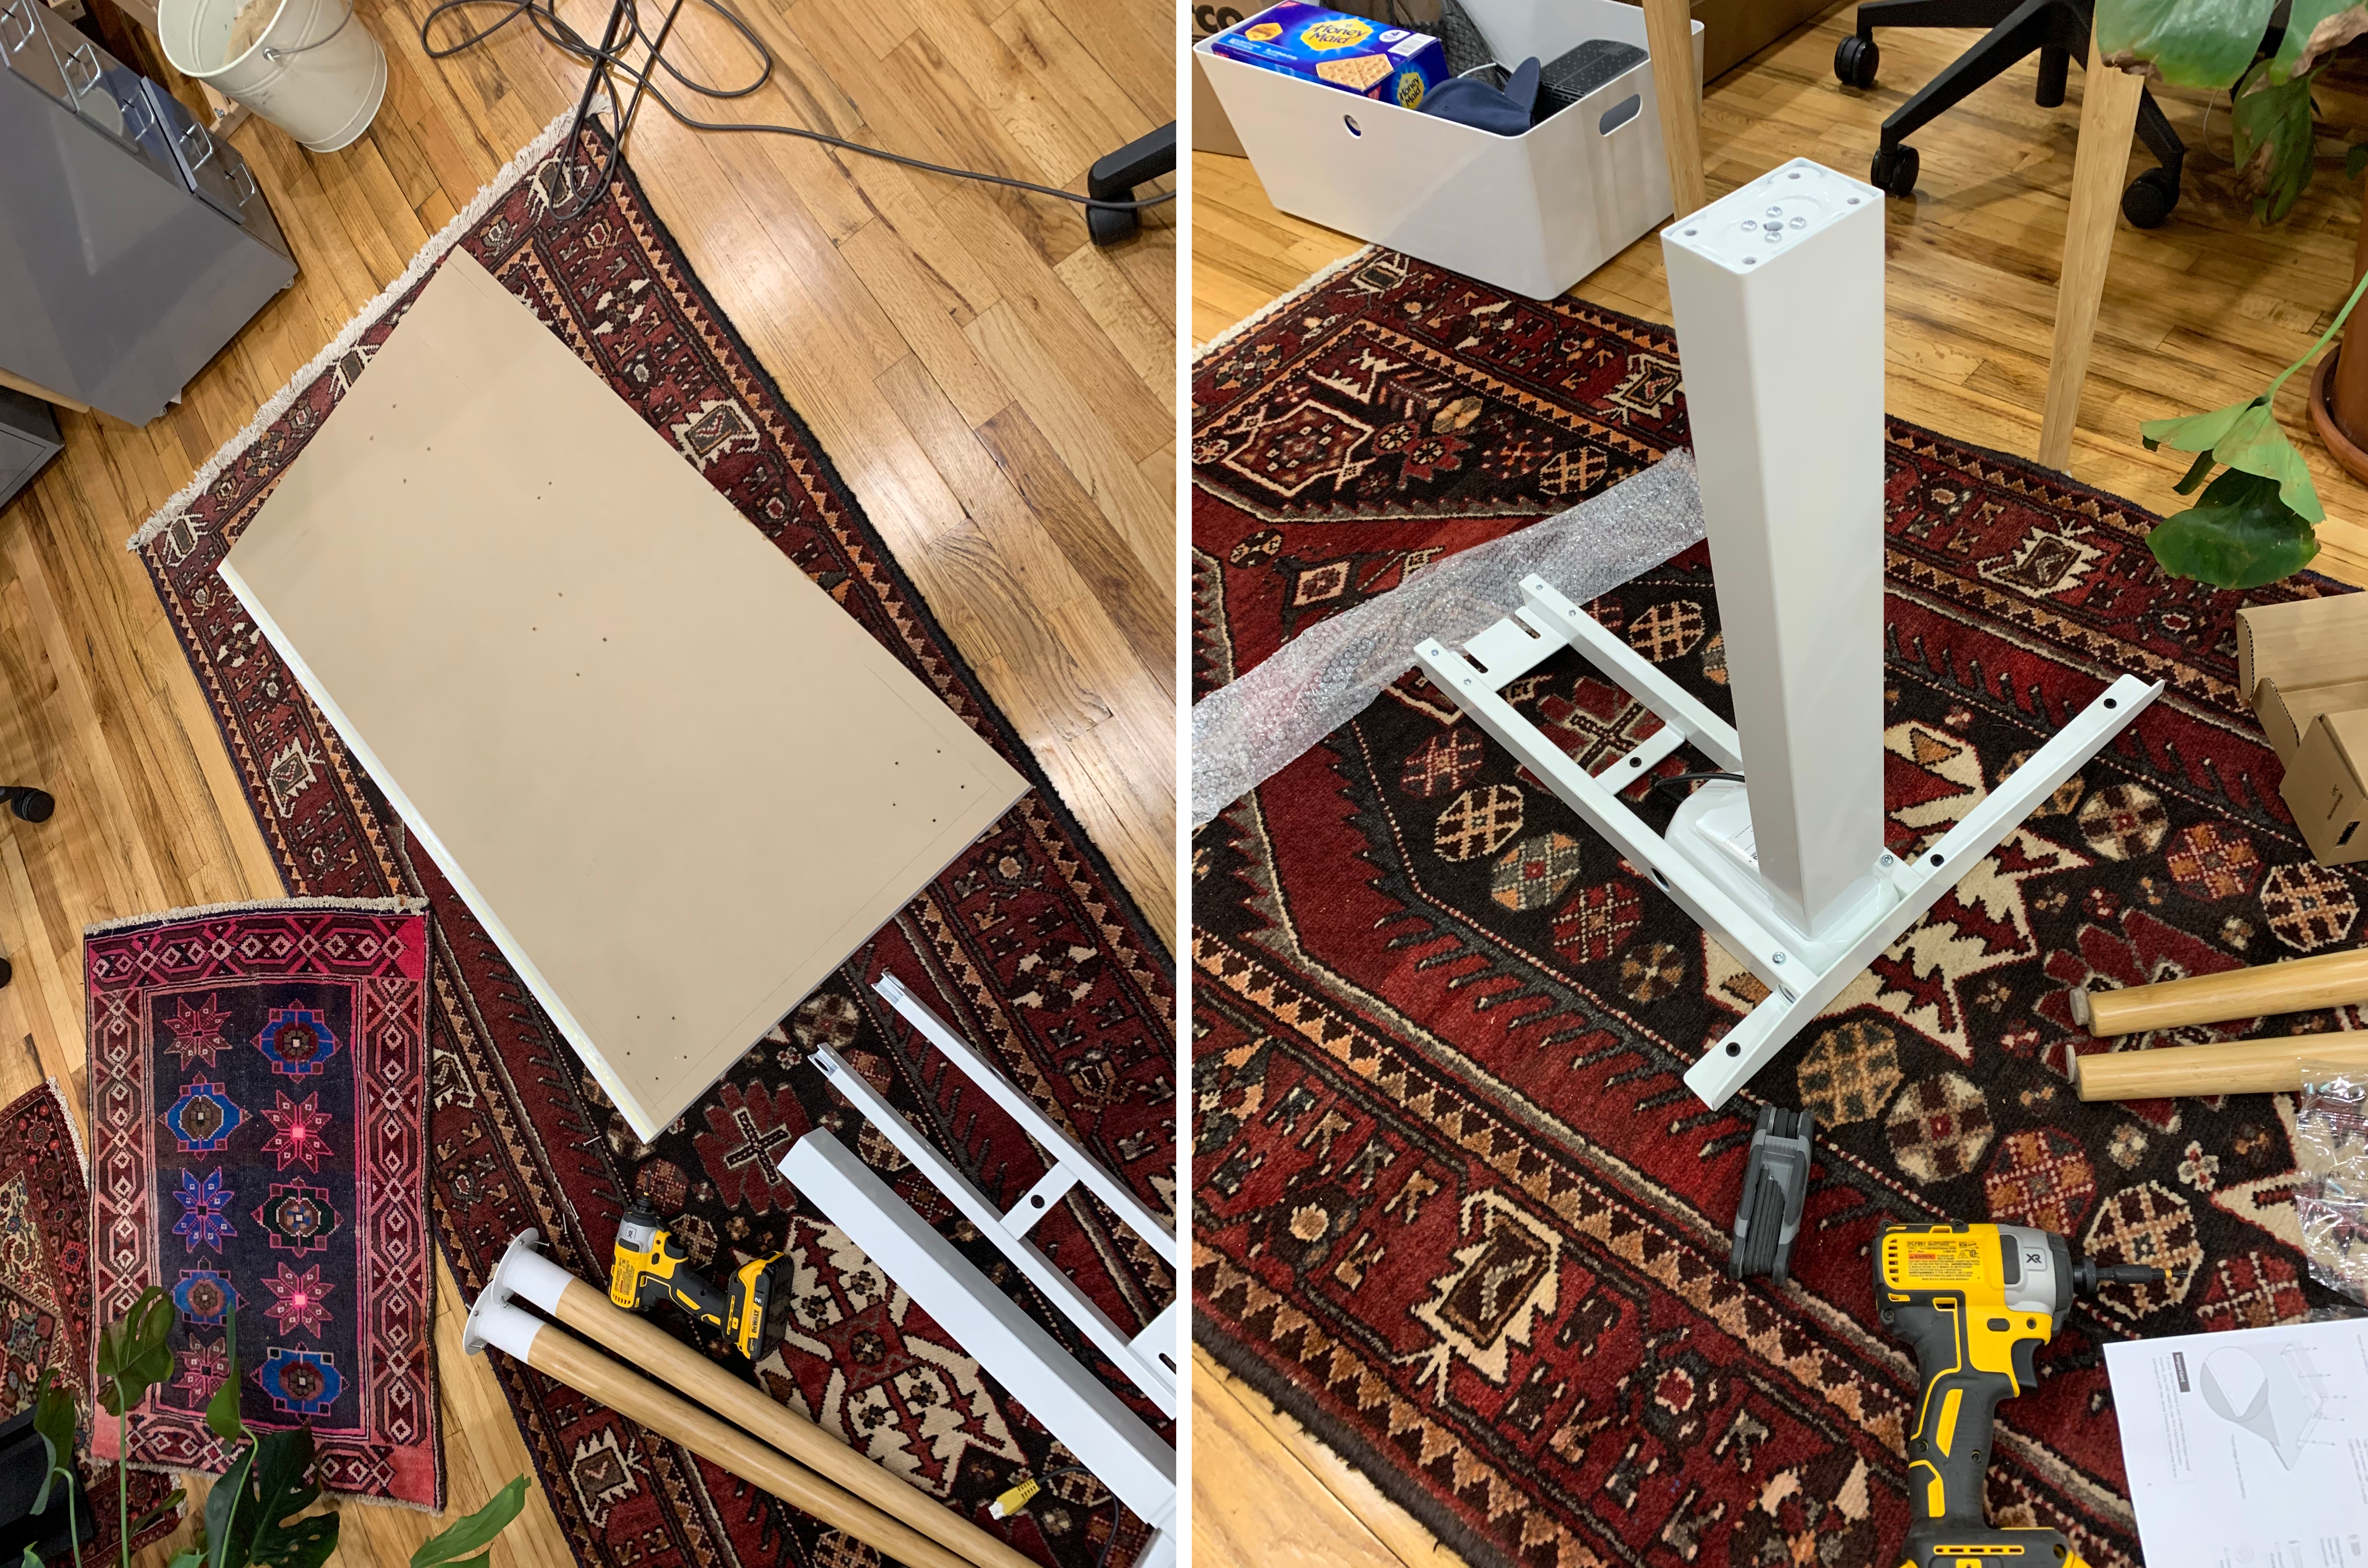
Even using my own “custom” desk top, I’m actually shocked by how easy it was to put together. I assembled one leg, then the other. I mounted the legs and crossbar to the desk top. Then, I attached the control box, touch control, and simply connected all the wires. At this point, I was done. Seriously—that’s all I had to do. Unfortunately, I did a pretty crumby job of documenting this process because “Very Slow & Steady” Jonnie took us deep into the night, but I was delighted by how easy assembly was after butchering the cut.
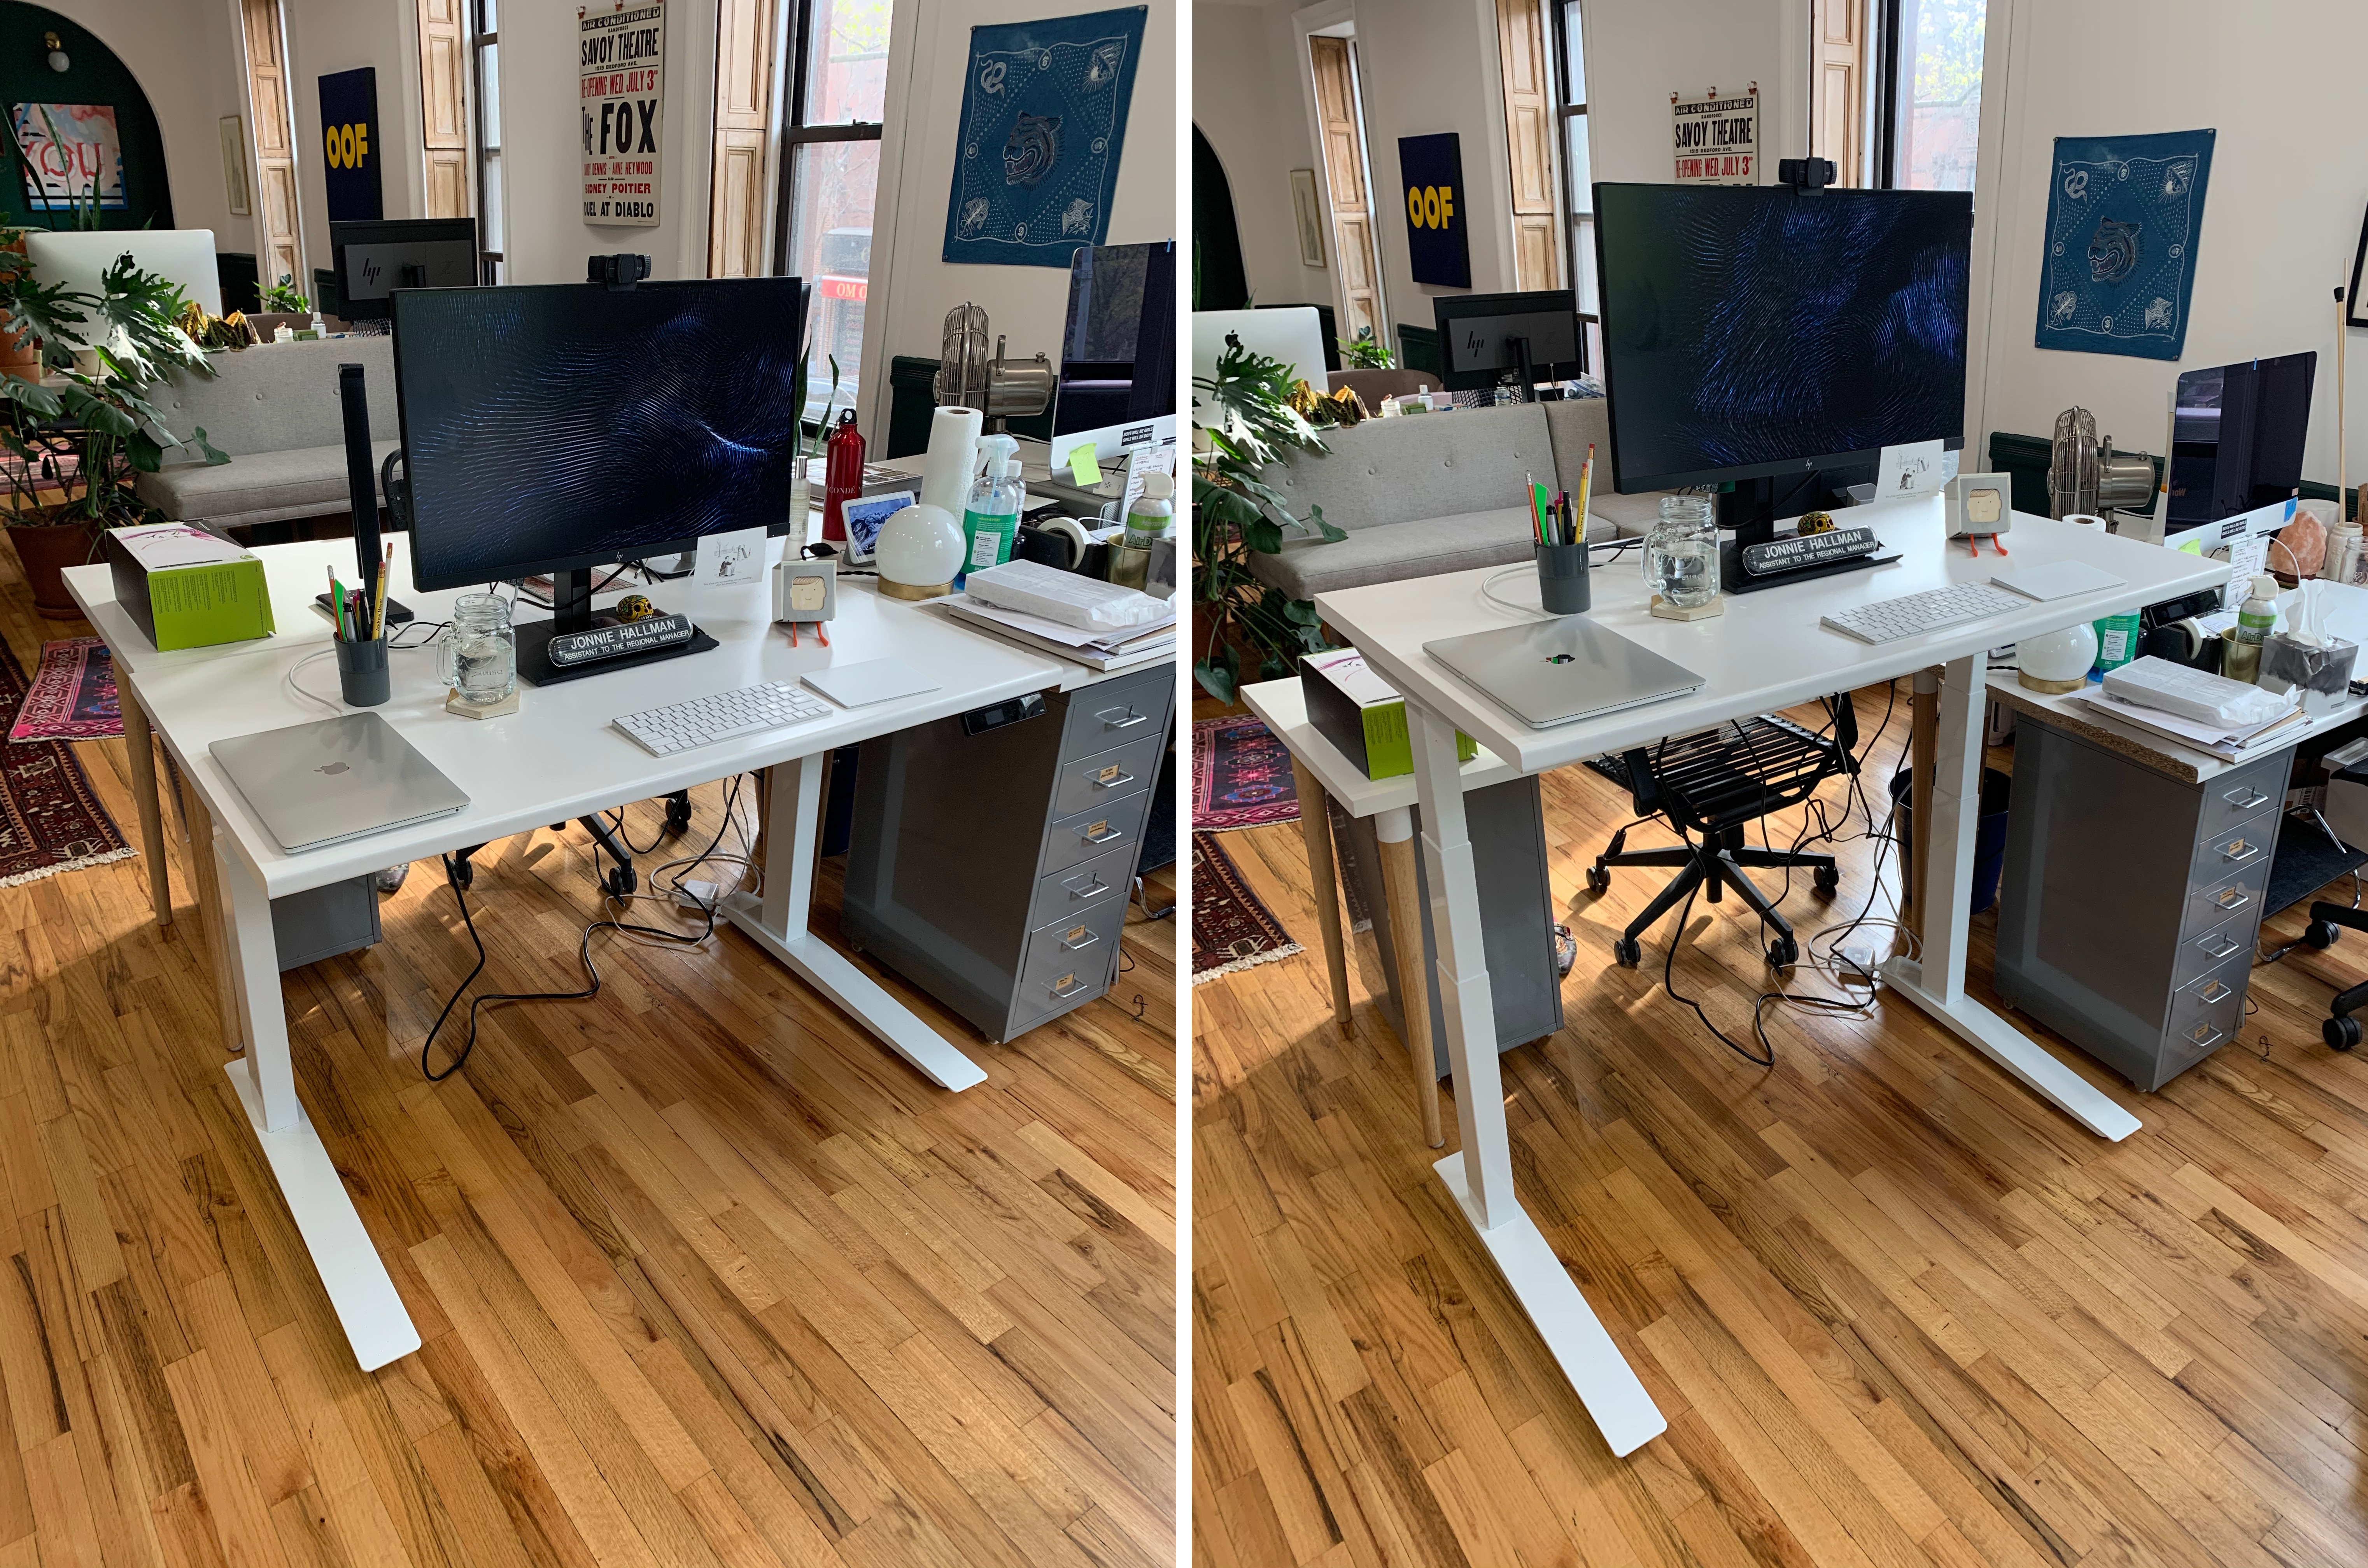
Jen helped me move the desk into place and, like a kid on Christmas, I immediately tested the motorized legs. I’ve used plenty of standing desks in my career, but having my own motorized standing desk at my studio feels magical—especially one that blends in… sort of. The butchered cut isn’t painfully obvious unless I point it out, so I’m not too upset about it. On a more positive note, as soon as a fellow studio mate saw me raise my desk to standing height, she immediately said she needed one. This means I’ll have another chance to redeem myself.